Snapmaker Studio · guide for v1.5.0
Get your project ready to print
Check a downloaded model, prepare a U1 copy, and understand what to review before printing.
Learn with an example project
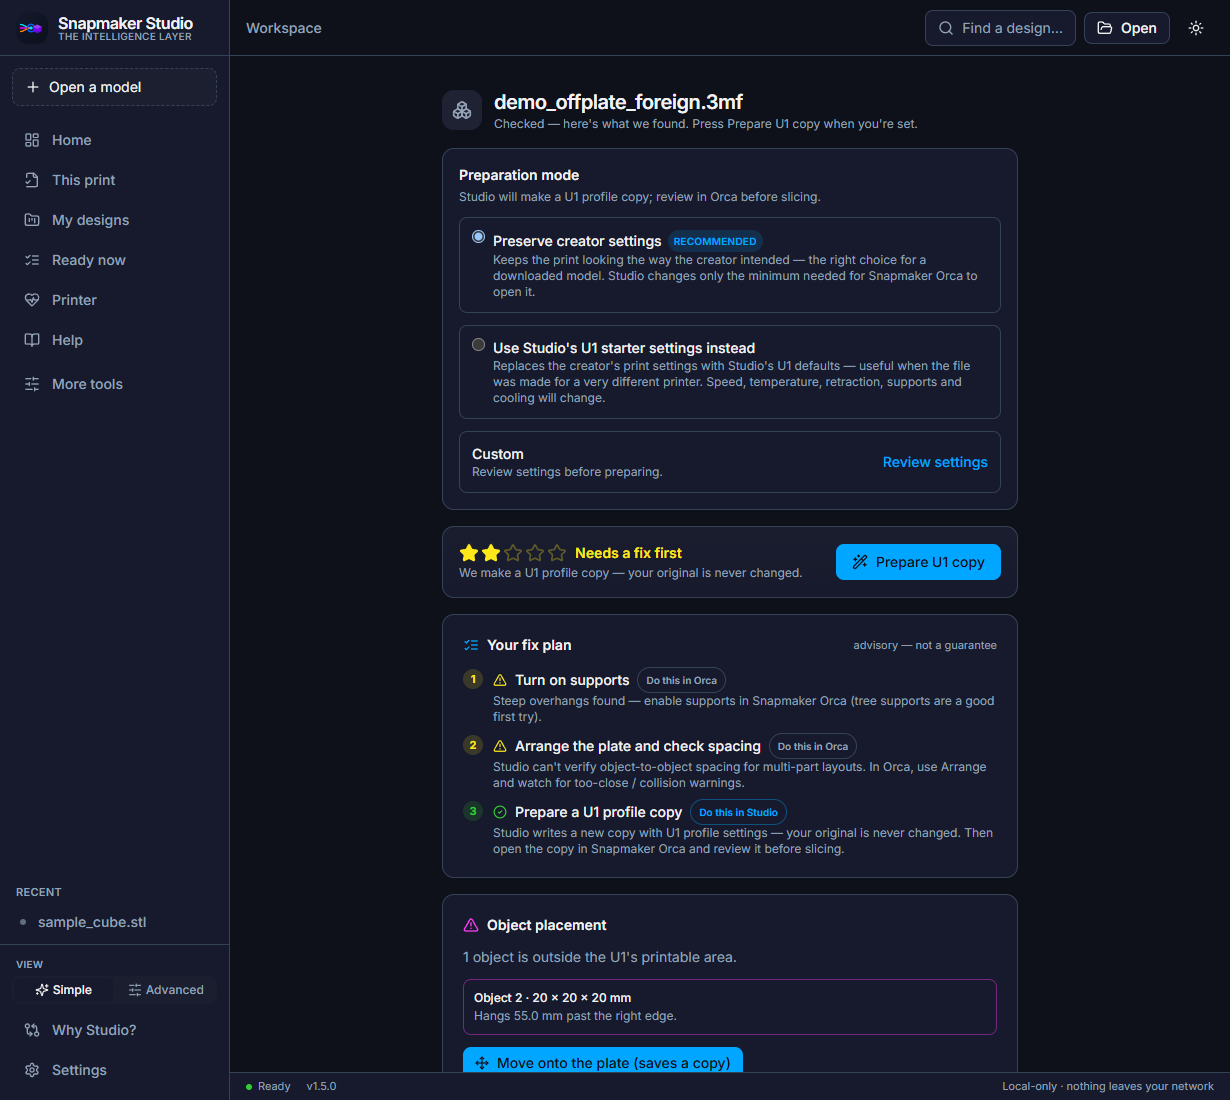
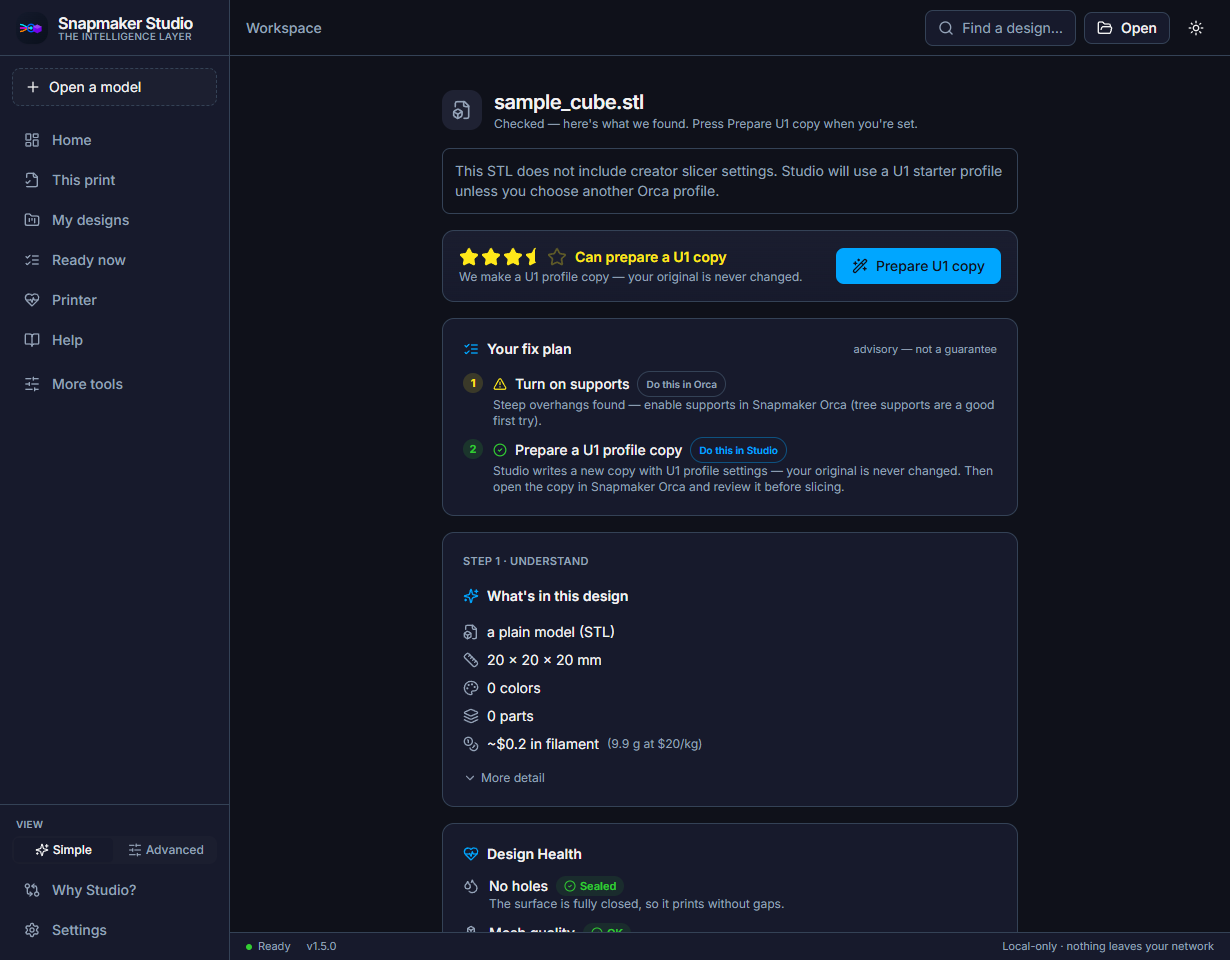
Follow one small project through all six decisions, from opening it to checking the sliced job. It takes about 25 minutes. You need Studio, plus Snapmaker Orca for the slicing stage.
Start the example →Find help for my current task
You already know what you are doing. Jump straight to the steps.
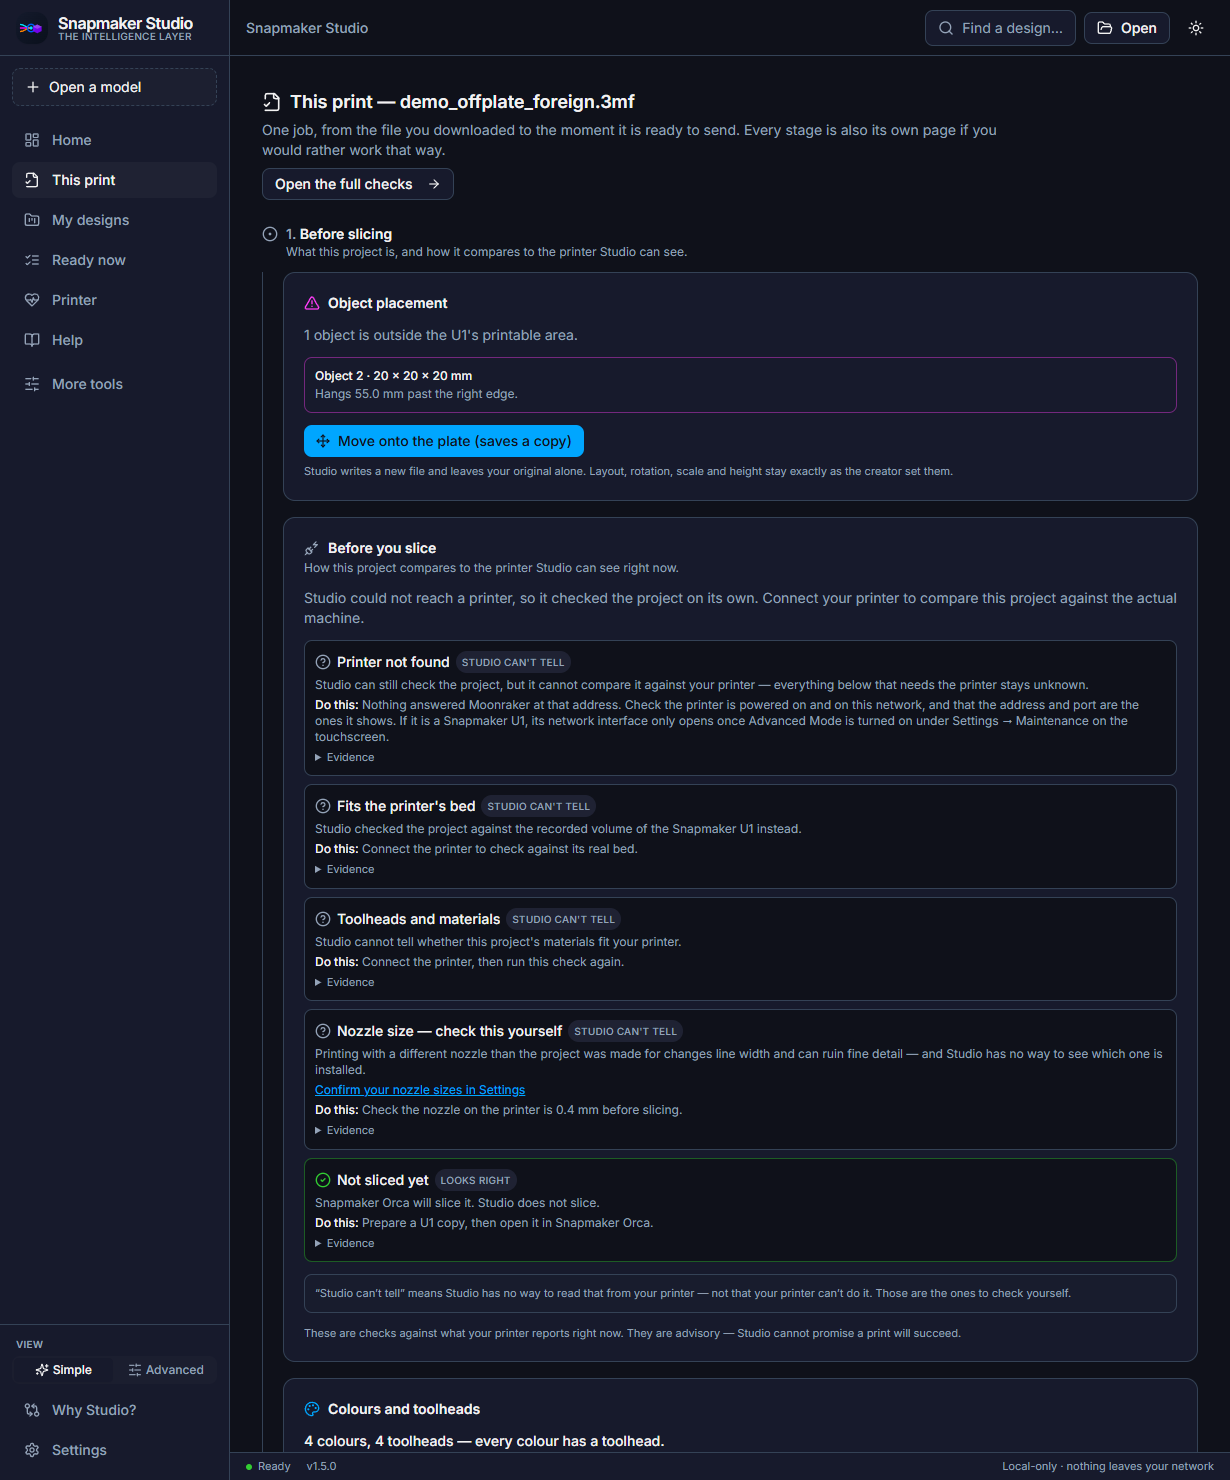
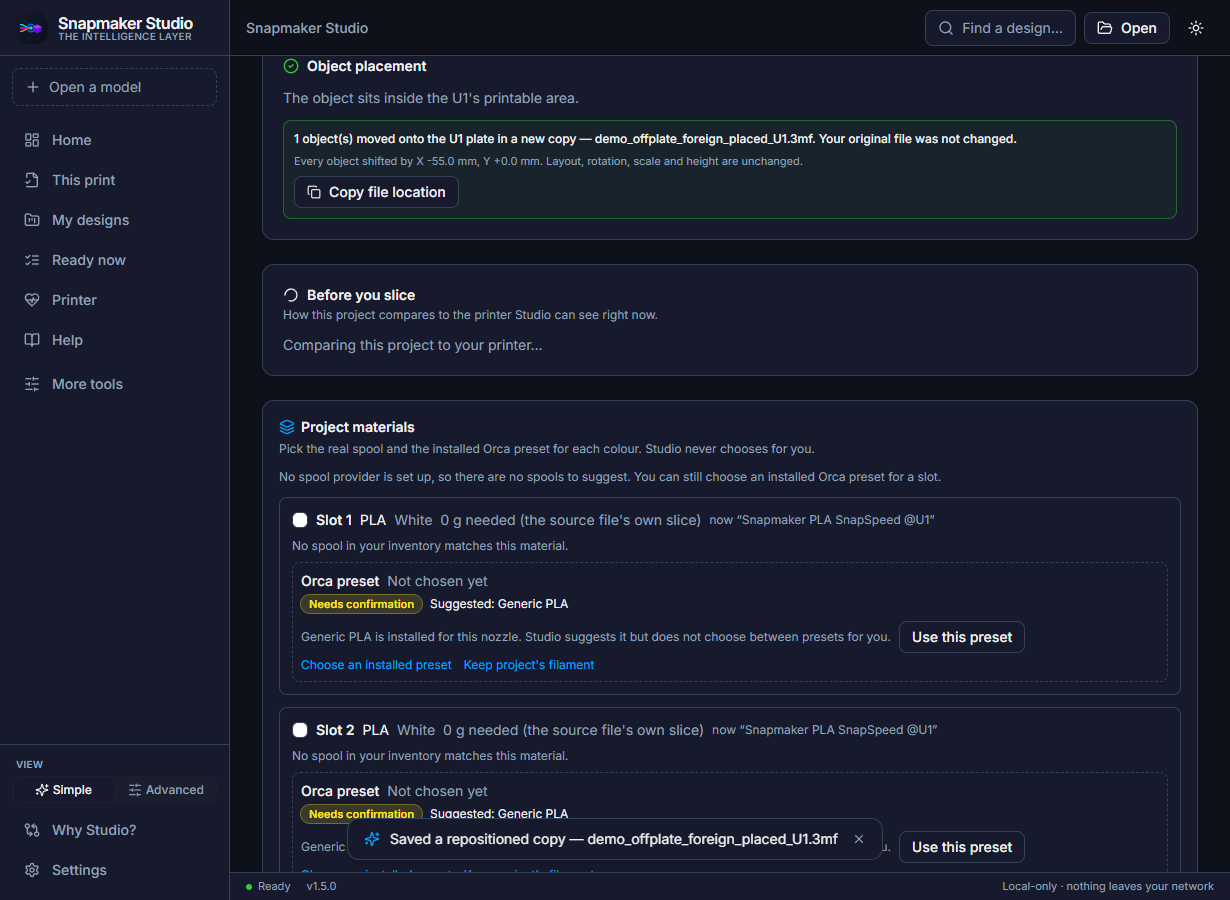
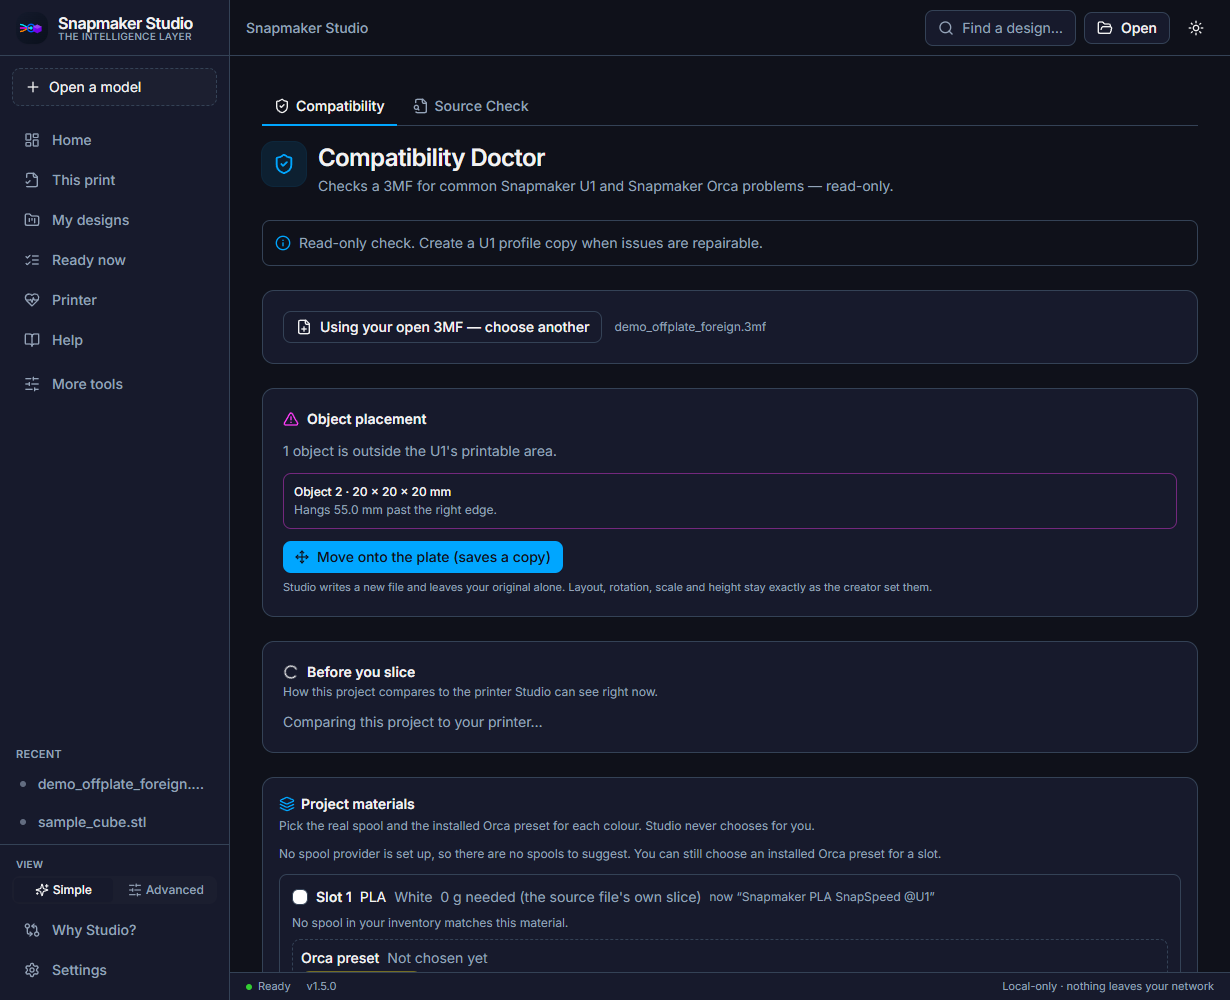
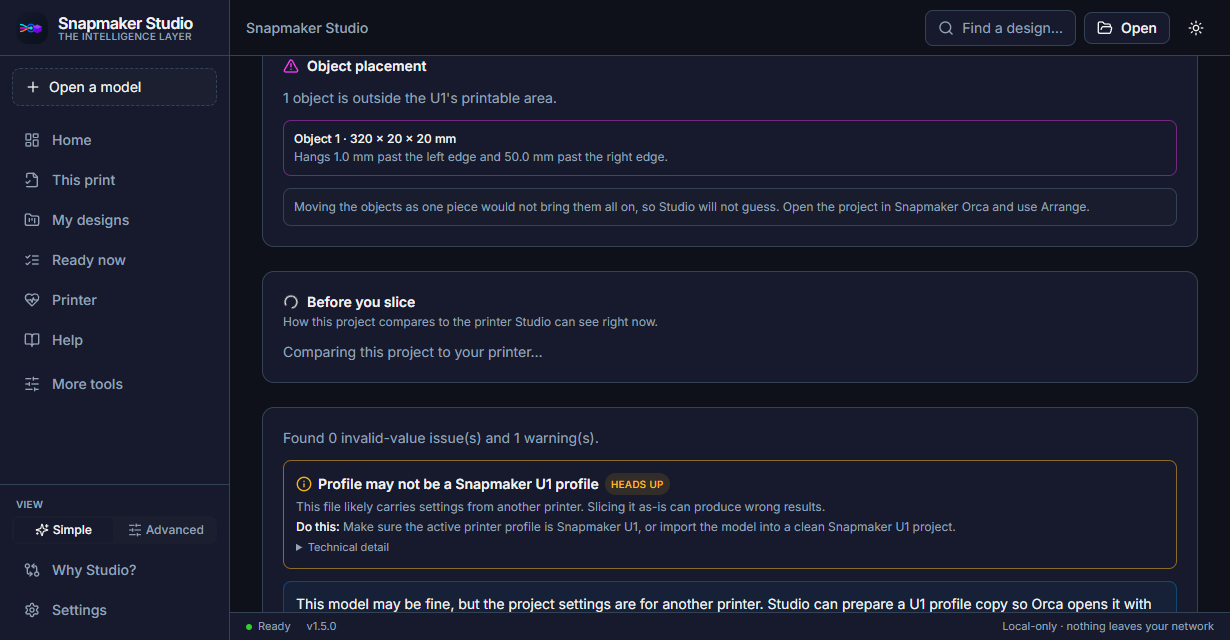
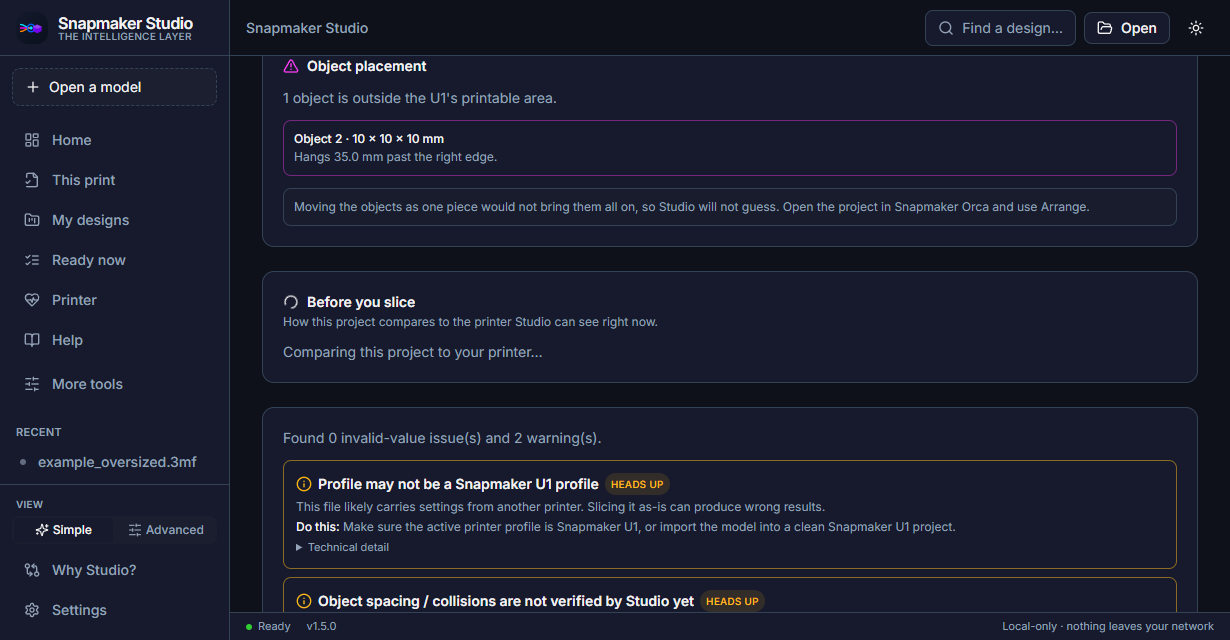
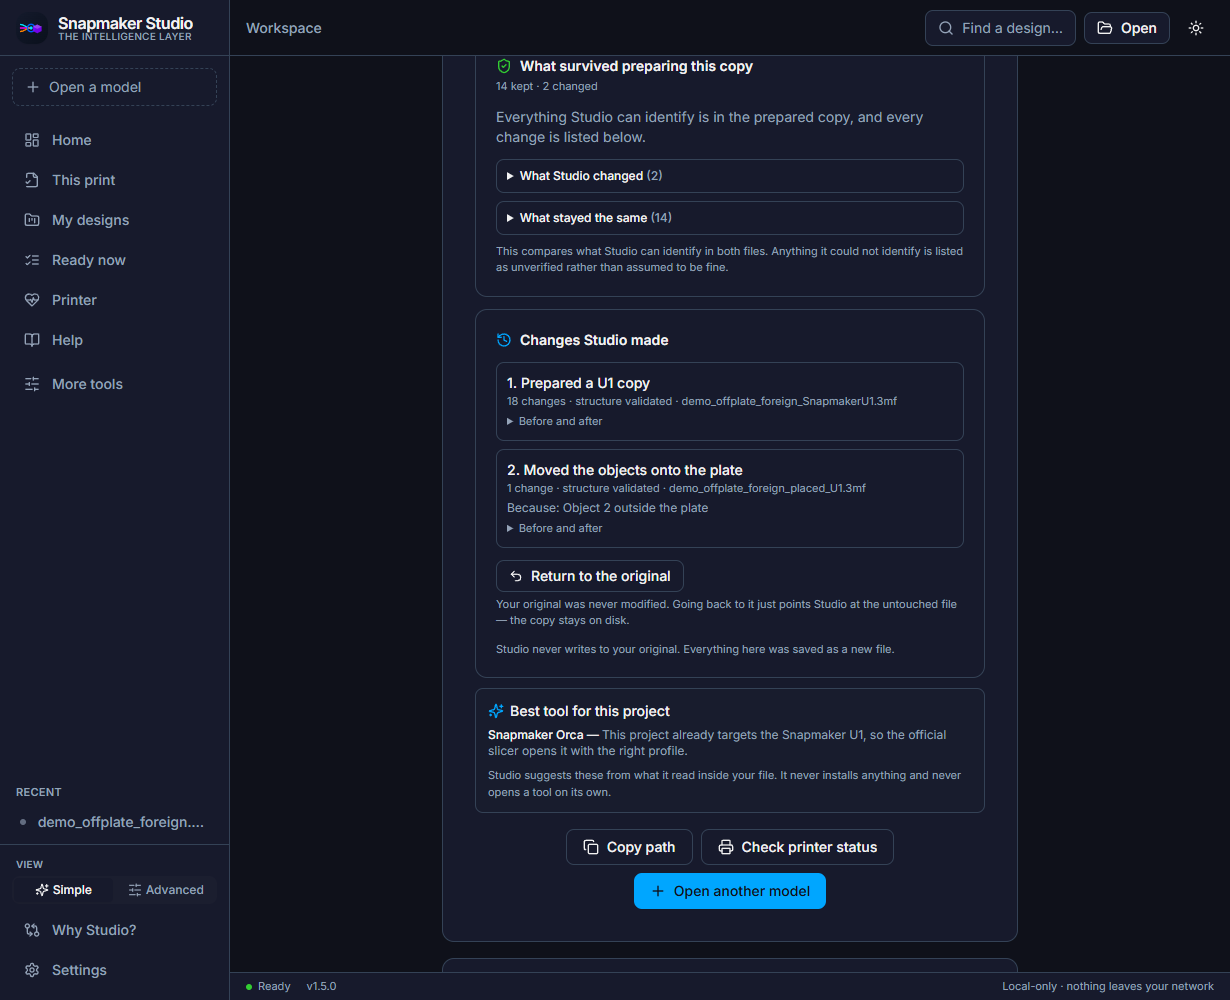
- Fix an object that hangs off the plate
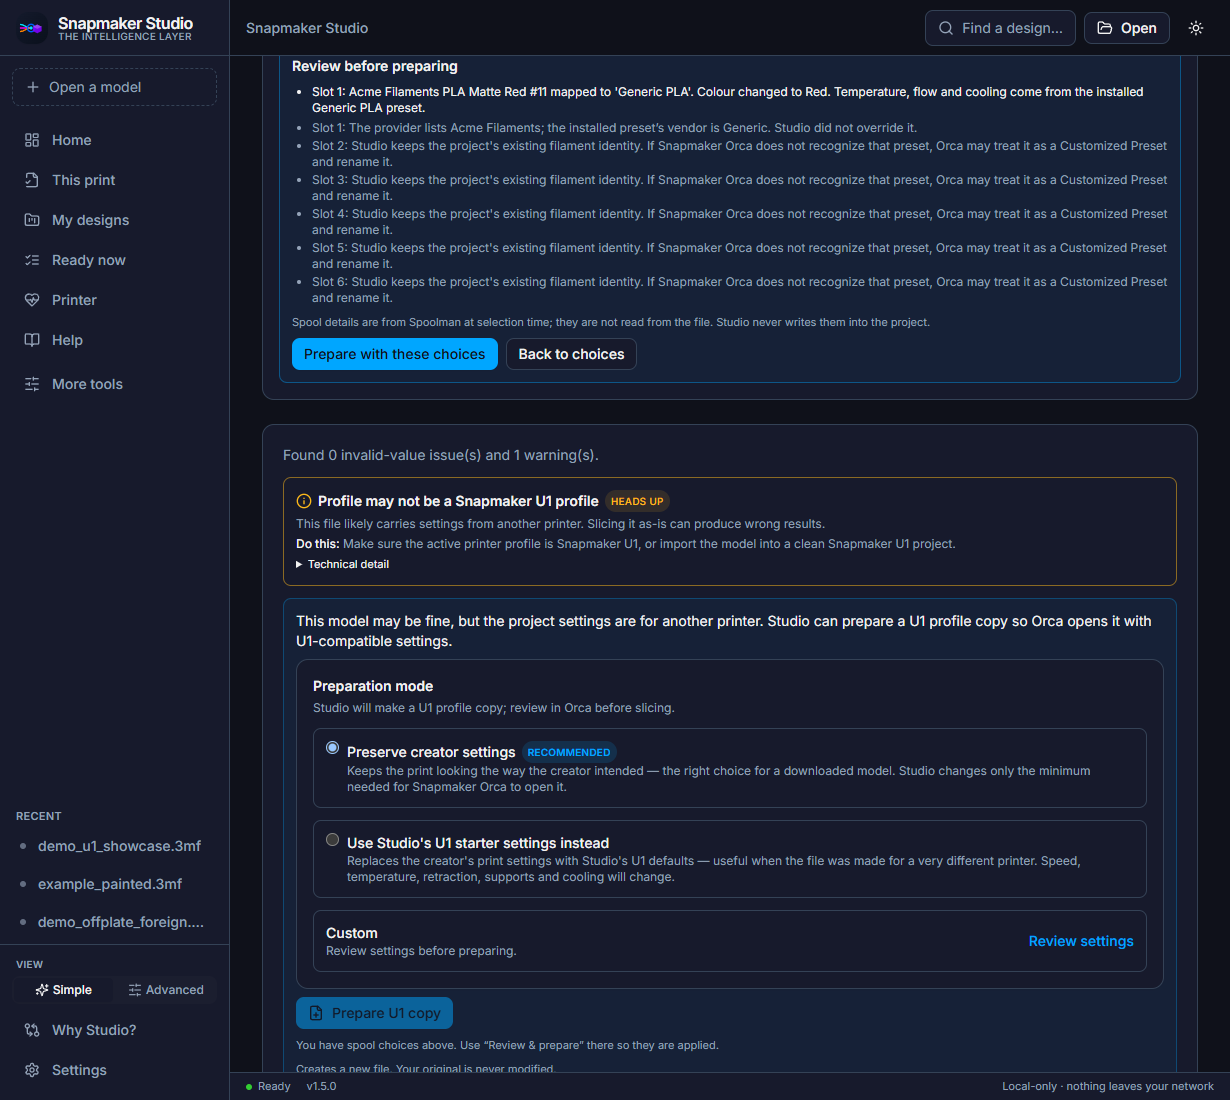
- Choose spools and presets
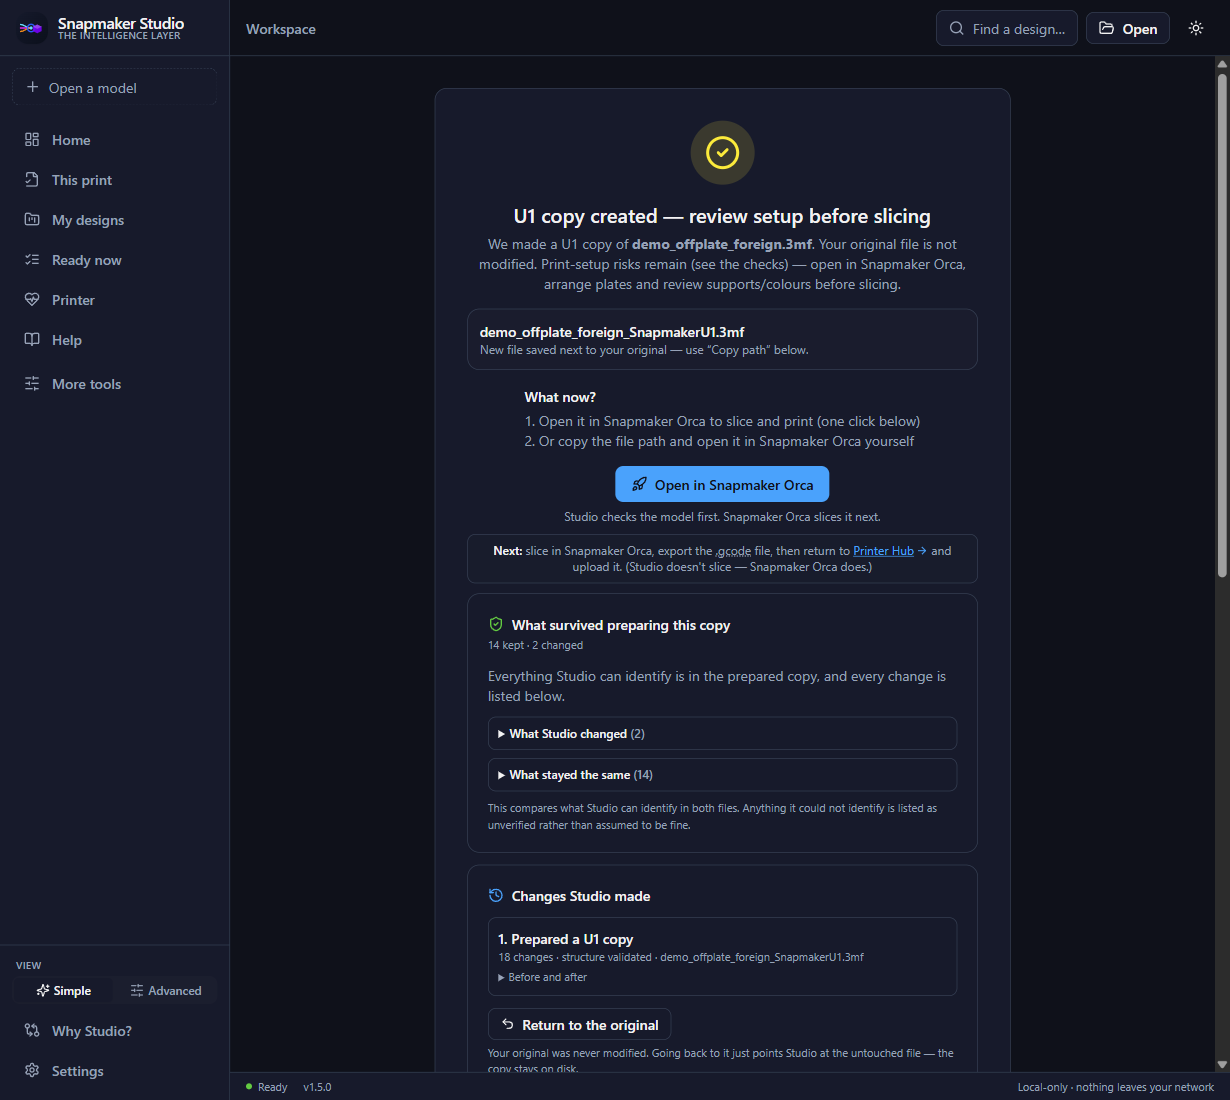
- Open the copy in Snapmaker Orca
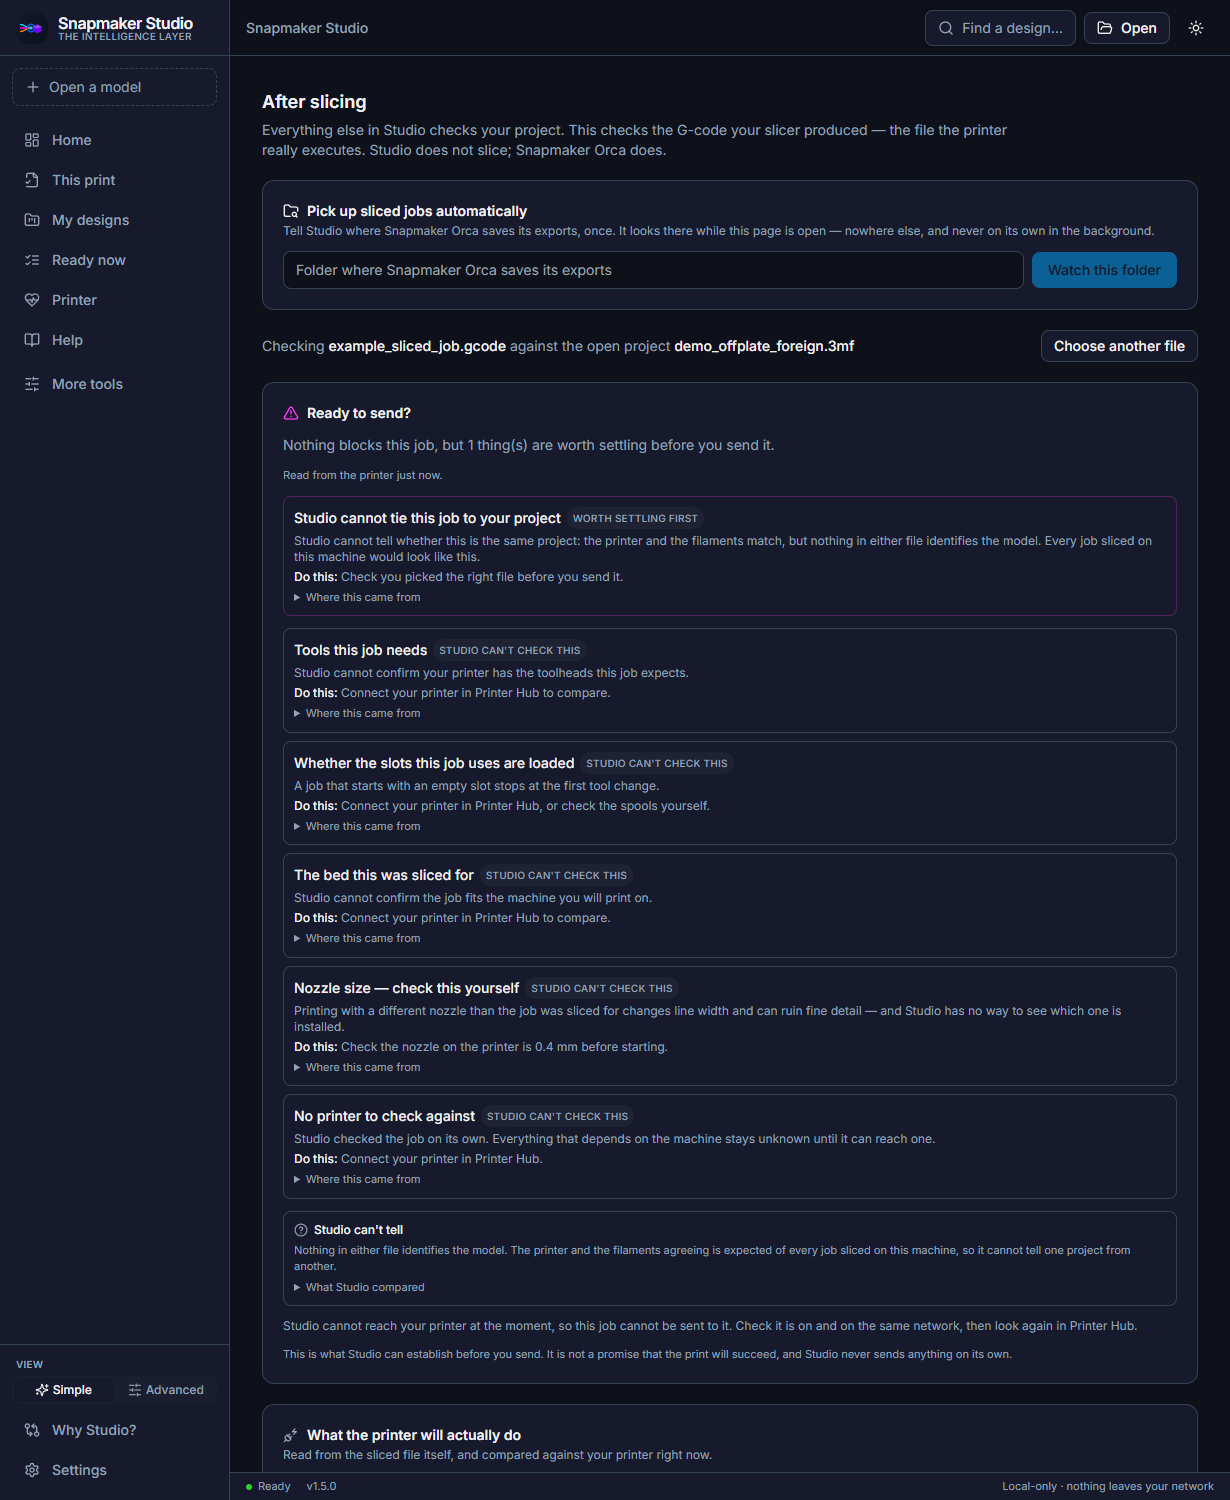
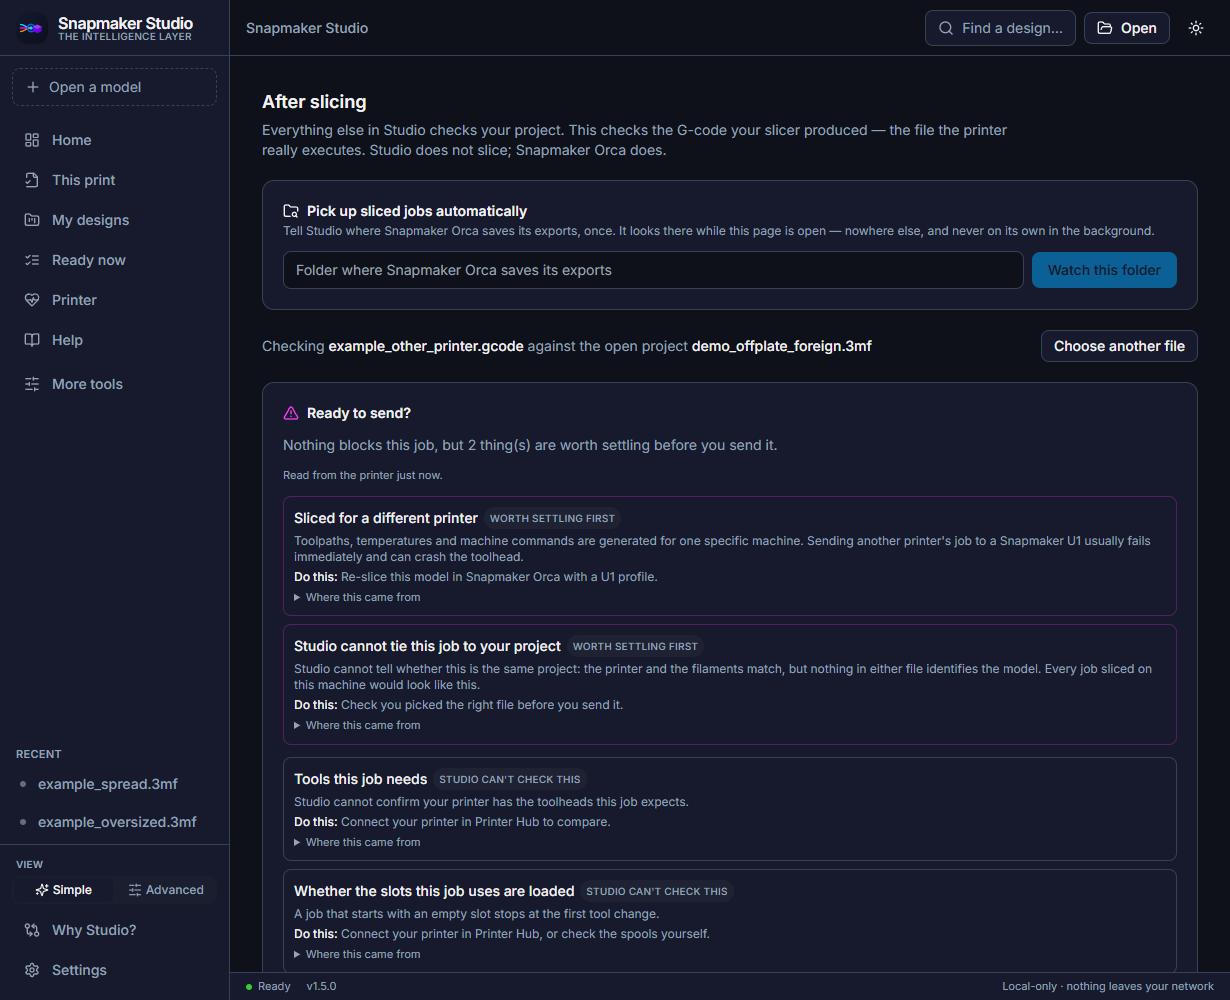
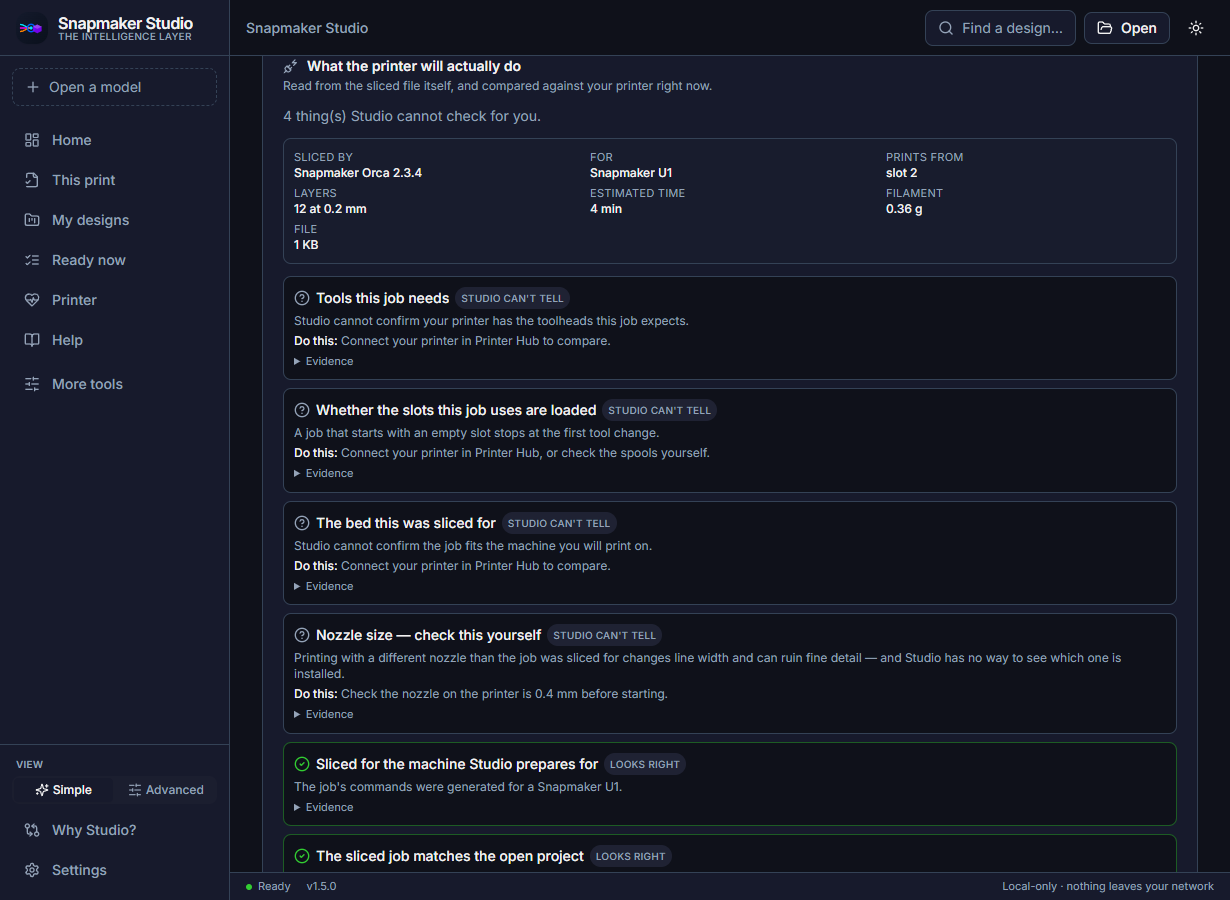
- Check a sliced job
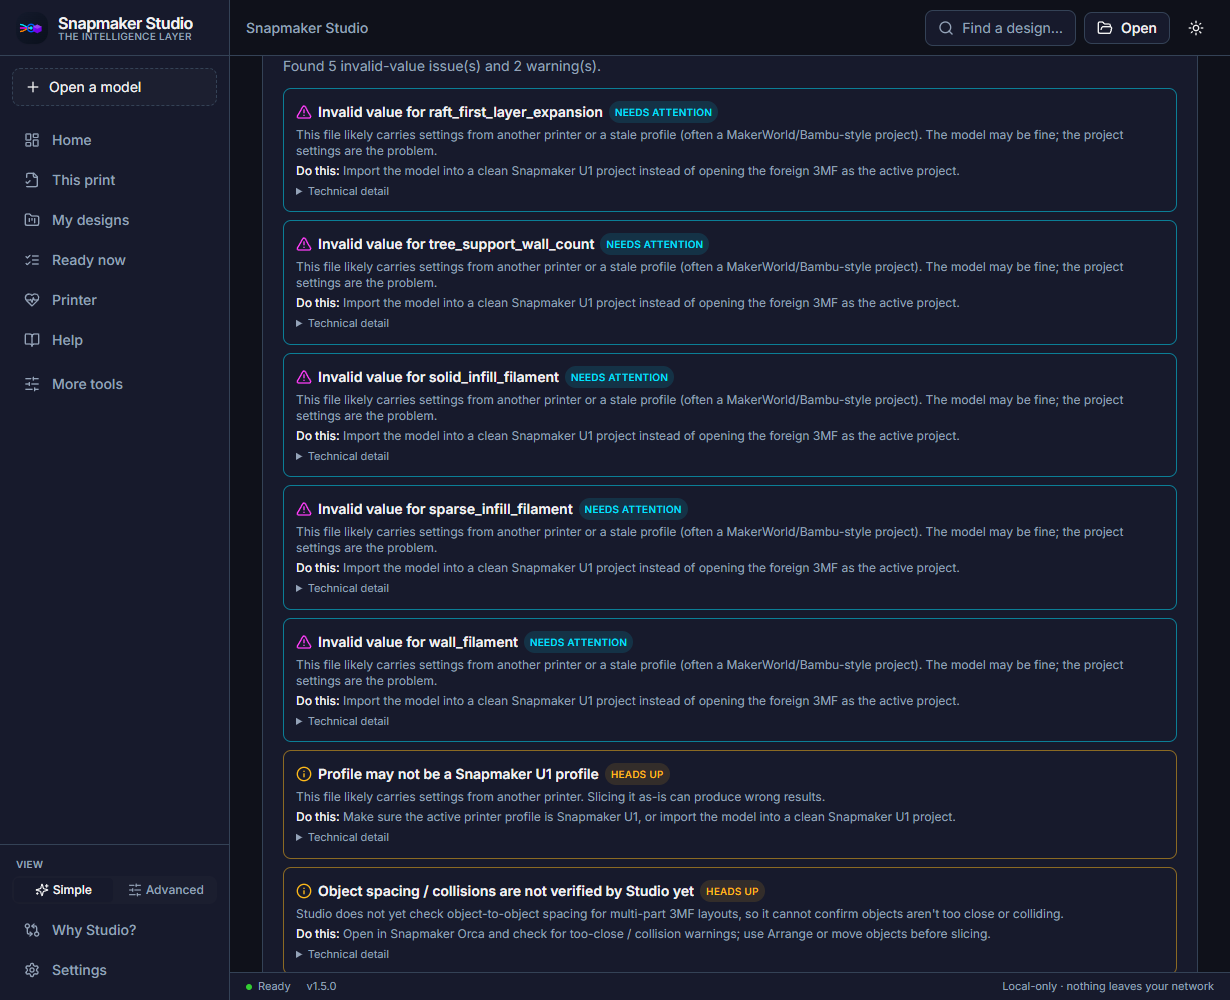
Understand a warning or problem
Look up what a message means and how sure Studio is.
See all warnings →See the whole jobStudio, Snapmaker Orca and your printer, stage by stage
Studio works on your computer. Snapmaker Orca slices: it turns the model into G-code, the instructions your printer runs. You decide when the print starts. Studio never slices and never starts a print on its own.
Not installed yet?
Install and open Studio — about ten minutes. If Studio is already installed, skip it: the example starts from opening a file.
Optional tools
Cost, scale, print quality, batch, model sites and spool providers are under Tasks, marked optional, so they never interrupt the main path.
What this guide does not show
No screenshot of a connected printer, none of Snapmaker Orca's own window, and none from Linux. Where that matters, the page says so. How each claim was verified: evidence record (opens in a new tab).